Showing posts with label crafts. Show all posts

Sunday, June 1, 2014

Spring/Summer activity with kids: DIY coasters

In case you are wondering where I have been for so many weeks. Since March I have started afternoon creative activities with my son who is now 28 months old and has started showing keen interest in learning new things. So every afternoon we do these activities.It gives me immense pleasure, happiness and creative satisfaction to think and create different creative projects for him.These are on varied topics like maths, science, art, craft and many other. 
I have started writing a personal blog where I store all the creative activities/projects I do with him. By the end of the year I intend to print that blog. I find a blog a good way to write daily and store pictures more like a online private scrapbook. It keeps me busy and fulfills my creative desire to write( a blog). 

Anyways some of my friends&relatives( whose kids are around the same age group)asked me to share some of the projects/activities I do with my little ones. Since the other blog I have lots of personal pictures I do not intend to make it public fearing that my son's pictures will be swimming on the internet. I don't know how mom bloggers do that. Anyways I will be sharing some on activities/DIYs/ projects here on this blog. So here it goes. The first one I have selected to share is a set of clay spring coasters we made.


There are lots of Gulmohar trees all around Dubai. One day when I took Avaneesh(26 months then) to play on the grass. I started gathering flowers while he played. He saw that and he also started gathering flowers in his dump truck. I kept the Gulmohar flowers in the fridge to keep them fresh for a day or two. I had planned to make coasters by pressing flowers in air dry clay to store the memories of spring/summer flowers.

I made two balls of the air dry clay. One for me and one for Avaneesh. I showed Avaneesh how to roll the clay. He did exactly same. Rolling the clay into the base circle by pressing it and later with the rolling pin. It took some time to completely cover the base with the clay. Once done I took out the flowers from the fridge. First we separated the petals from the flowers. Then started placing and pressing the petals on our coasters. 


Then he rolled the coasters with a rolling pin to press the flowers firmly in the coasters.


Then I put it in the sunlight to air dry it. Avaneesh just couldn't stop putting flowers on them. 


Later when he was taking his afternoon nap I put a layer of Moshe podge on them.The clay had air dried by next morning. They make nice coasters.


Using the things made by your kids in daily use increases their confidence. Any child wants to do things to make their parents proud. 

Joining party at BNOP!


Monday, April 11, 2011

Tea and Coasters


Last week was very busy and chaotic..
 Now that my project is over I have lots of time on my hand...
Lots of time to relax ..sip tea.. listen to music and watch the rain drops on my balcony..
Isn't my mug pretty?! Did you notice the coaster.. It is my latest attempt at decoupage!! 


I used Modge-Podge, a Indian textile pattern and a cork coaster. The mug is from Germany. It has  vintage flower pattern .. On its rim inside is written Sum cuique..
It is a German phrase meaning to each according to his or her own merits.

Hope you all have a great week ahead!!!

Linking to Susan's Metamorphosis Monday, Patty's Weekend Wrapup, Marthas's Tea Cup Tuesday , Marty's Tabletop Tuesday!!


Monday, December 6, 2010

Suzani star Coasters

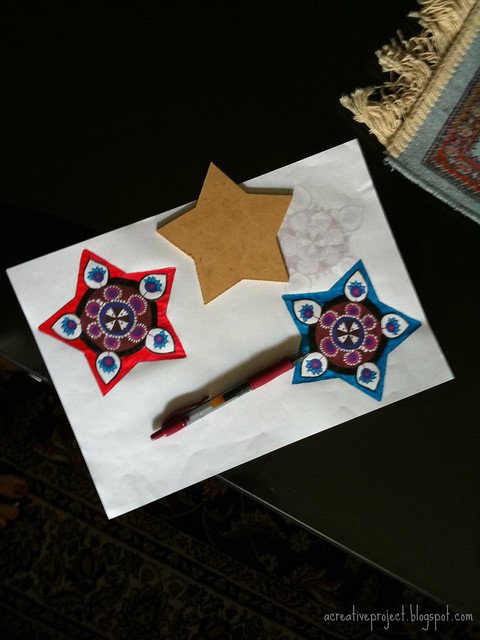
suzani coasters

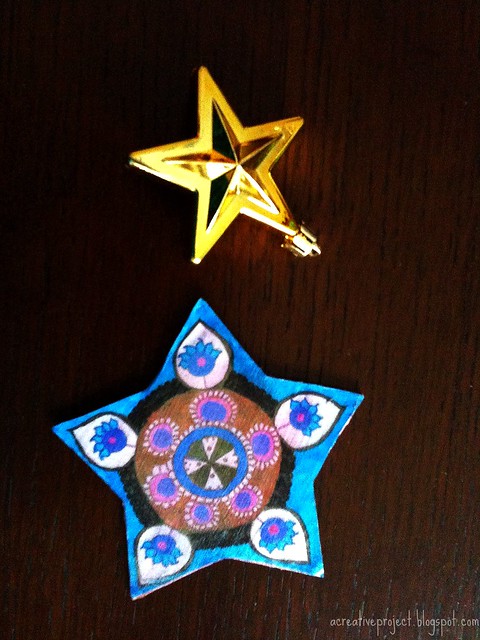
I love the Suzani prints!! The colors , patterns and designs are so beautiful aren't they?! This year for Christmas I am making my own star shaped wooden coasters with Suzani print.. I found these very pretty wooden star shapes.. Perfect for Christmas!!  For this project I traced the shape on to a paper..I drew the pattens and painted it in different colors..

Suzani Coasters

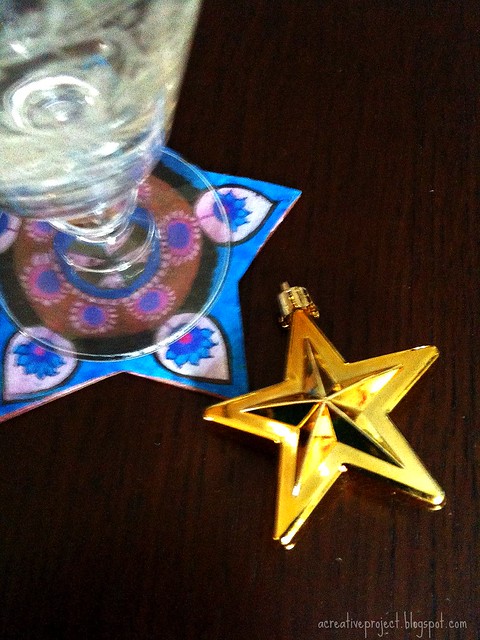
I haven't used Modge Podge ever.. Since I started this blog 5 months ago I have visited so many creative blogs and sites showcasing beautiful projects using Modge Podge..So I wanted to try it out as well..took the above pic before it dried up.. It looks much smoother now:)

suzani coasters

It makes a pretty coaster.. You know what I think it can make a pretty handmade ornament as well!!!

Apart from this Christmas project  the house is slowly getting decked up...


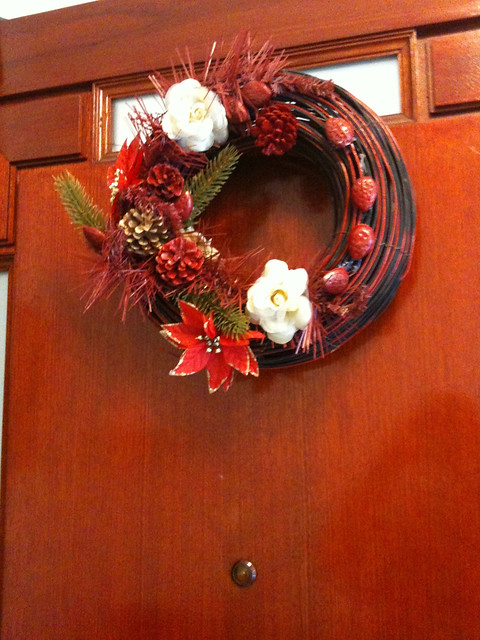
Wreath on the front door..

2

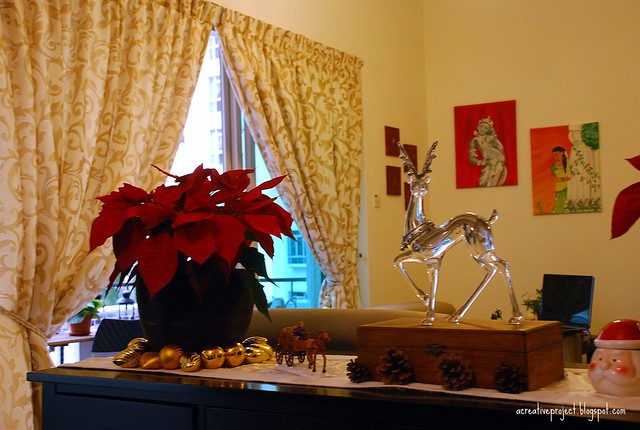
This Poinsettia plants and my decked up cupboard top ..You can see it here.

Joining the parties with Susan @ Between Naps on the Porch for Metamorphosis Mondaywith Diana @ The Girl Creative for Just Something I Whipped Up ,with Cindy @ Cottage Instincts for Make it 4 MondayRoeshel @ Diyshowoff for DIY Project parade ,Kaysi @ Keeping it simple for Motivate me Monday , CRAFT for Making Monday Marvelous DaySharon&Rekha @The key bunch for December Carnival , Gina @ The shabby chic cottage for Tranformation Thursday, Lori @lifeaslori for Get your craft on and
giveaways   calm+breeze+banner+friday.jpg

Saturday, October 9, 2010

Freebies: Labels for organizing your home

Hello lovely people!! Hope you are having a great weekend!!  I want to thank you all for your comments.. Amidst the chaos of moving and all problems your visits and comments make me very happy.. Somehow I don't know when this happened but this blog has become a integral part of my life..  It keep stress far far away from me.. I love interacting and connecting with all the fellow bloggers and like minded people.. To become friends with people through blogs..The world seems to be a small place..


Today's DIY is the simplest of all..We all need labels for organizing our stuff ...Like me if you forget what you kept in a box... only to find when it is not needed:)) The solution is labels.. I made some labels.. I know there are lot of labels available in market..but why use the plain..blank..sad looking labels when you can make your own..They are Your labels ..they should be as pretty and cool like you , right!!! 


I made some and I want to share with you.. I made stationary and craft supplies labels..

I made some funky ones for writing notes or listing of the items which are stored in the box...


My creativity by then had reached its epic ....
 I made these ones..a post card and Google label .. I think these are the best..


I have made these using MS word..I didn't have any fancy graphic software..thats why I couldn't make the corners rounded which I think would have looked even better..

Let see how you can use them once you have printed them..
You will need sticky tape and scissors.

Now cut them along the lines..


You can stick them with glue but I used sticky tape so that it can easily removed and the box can be used for something else:)

Stick the tape on the bottom on two sides and press it down..


Your personalized box is ready ...!!!!!!

I have uploaded these labels in pdf format here. They are free to download and use for any personal use. Feel free to share. If you have any problem downloading let me know.


Thursday, September 30, 2010

Organize with Recycled bottles

By now all those who read my blog know how much I love recycling..making plain items pretty and reusing!! I did this project in Zürich to organize my craft supplies. (I am so happy to see my stuff again tomorrow!!)


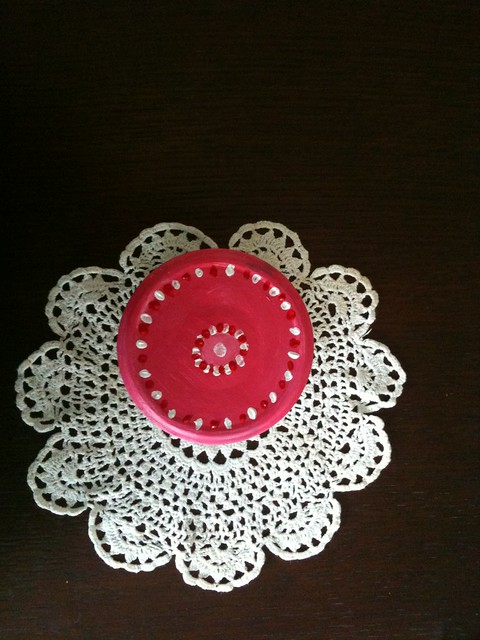
IMG_0907


This project came to my mind when I saw glass jar (just like a jam jar) with a pretty cap in a local mall. I was wondering why people are buying empty jam jars/bottles with a pretty lid. I mean you can recycle the ones you have already have at home!! So I came home and decided to do it myself. 


To do this project,all you need is a used, empty, cleaned glass bottle/jar. I used a jalapeño bottle and acrylic colors. Then remove the paper label. I used a bottle without any engraving or labels embossed on it.  


I painted it 2-3 coats. Let it dry for 1 hour or more..


Decorate it whatever design you want using a stencil or painting directly..


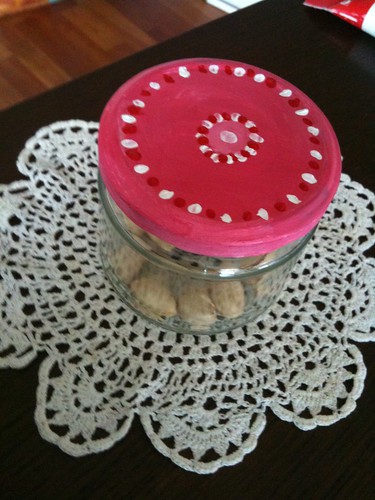
Store your craft or food items in your pretty jar..

IMG_0906

It's hard to tell if it is  reused bottle or  I bought a mass produced one from the mall:)

Recycling is good..It's very very good.. Just take a look at the pretty things people have created using recycled bottles.. 

                                                                                                   Pic courtesy: Metaefficient

The Christmas trees were made using recycled beer bottles..

                                                                                                                            Pic courtesy: Inhabitat

This Thai temple is build using more than one million glass bottles..It is a piece of art.. Check out more pics of the temple here..

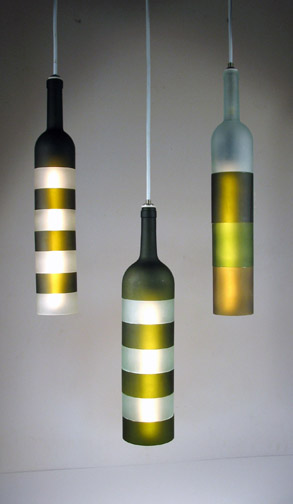
                                                                        Pic courtesy: Jerry Kott

Jerry Kott's Lamps from recycled sculptures..

I am sure you are inspired... just a creative idea .. and you can make your own piece of art!! 


Wednesday, September 1, 2010

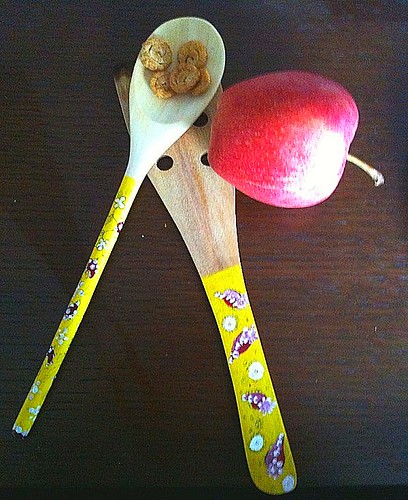
Ikea Spoon Makeover !!

First some good news I did a guest post for the fabulous decor blog: The key Bunch!! Yippeee!!!  It is a creative tutorial that you would all love;) This is my very first guest post and I am so very happy for getting the opportunity!!

Painting on Spoons


I would like to share the tutorial with all with you too..or you can read it  here on The Key Bunch blog .I am sure many of you have seen the wooden spoon set of three by Ikea. They look so bare and plain.. So I decided to beautify and jazz them by painting the handles.. I did this project the first time around a year back .. I still use and dish wash them and they still look the same:) The key Bunch ladies liked it and I did one for them again..!!


Do you see the before and after change.. I made a video tutorial of the project... It is very simple and lot of fun and perfect for showoff during parties at your place..:))


Steps to follow:

  • Apply base coat and let the base coat dry before painting on.
  • You can paint directly or use stencils.. I have shown two ways .. one with punched paper to make polka dots and one with a ready made stencil...
  • Spray varnish only on the spoon handles..
  • Let the varnish dry before washing and using them.
  • I used acrylics for painting and gloss finish varnish.

Joining the party at Met Monday, Motivate me Monday, Its so Creative
Diyshowoff
                                          
The Girl Creative

           
Get Your Craft On Tuesday

ShareThis