
Though I liked the idea I never tried it out until ... one fine day in Berlin I ordered Crème brûlée.. my favorite dessert!! The dish had three types of Crème brûlée .. let me share with you a picture..
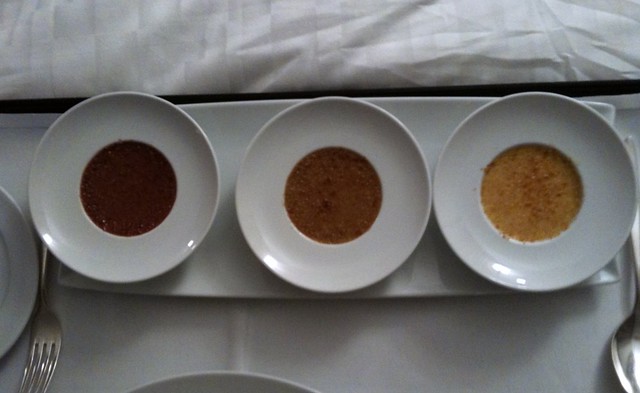
It was a rectangular plate with three bowls in it.. I tried to pick them up but they were stuck together .. I thought they were one piece.. when out of curiosity I pulled them real hard from both sides.. ( Btw it was room service I usually don't do these kind of things in public..hahhaaa)
There I found the mystery glue.. It is marzipan!!
So now lets start with the DIY tutorial..
For this you need ..
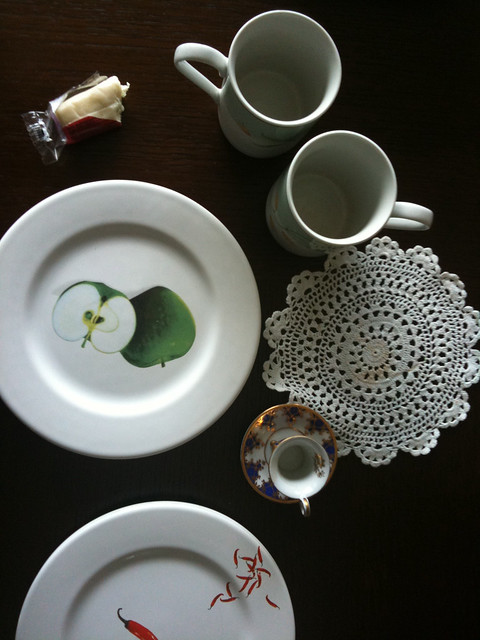
Marzipan
3 same sized plates
2 mugs or cups
some pretty vignette to be used as centerpiece..
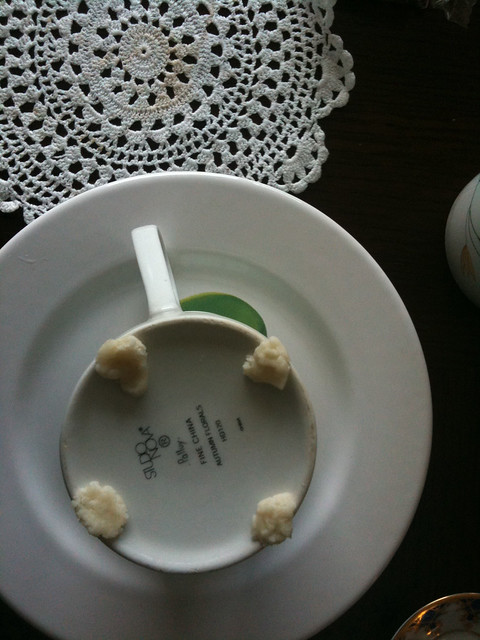
Invert the mug/cups and press some marzipan on four sides on the top rim and on the bottom like shown above..
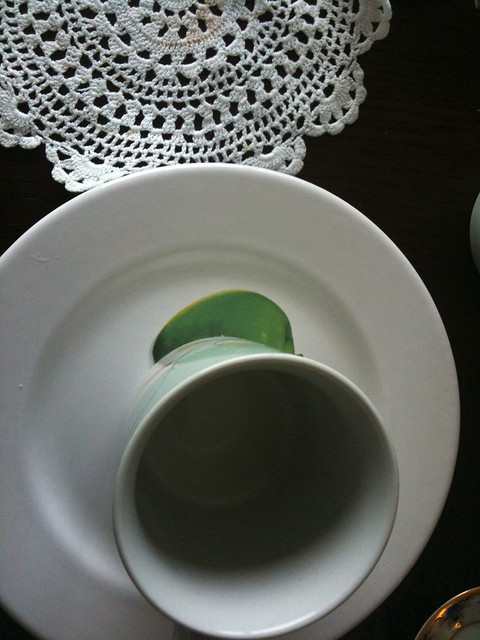
Now press it firmly on to the bottom plate.. try picking the mug/cup up to see if the plate is firmly attached to it..and then press another plate on its top. Continue the same process using the three plates ..
The design I have used is 1 plate then 1 inverted mug .. same again and then a plate on the top..
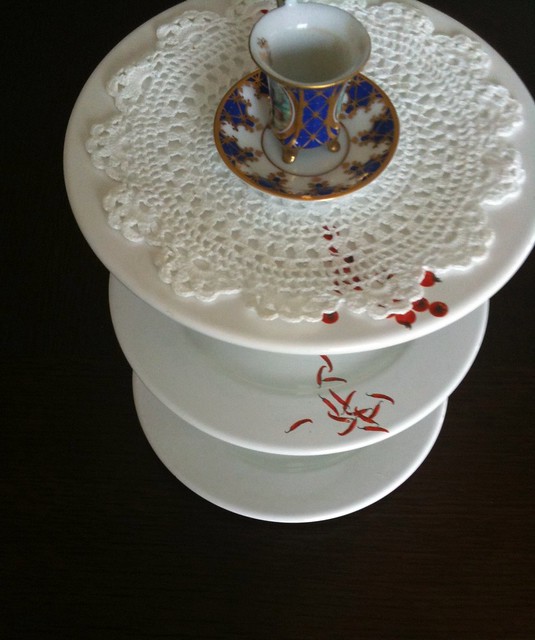
Decorate the top plate as you want .. I used a crochet doily and a tiny tea-set in coordination with tea party theme..
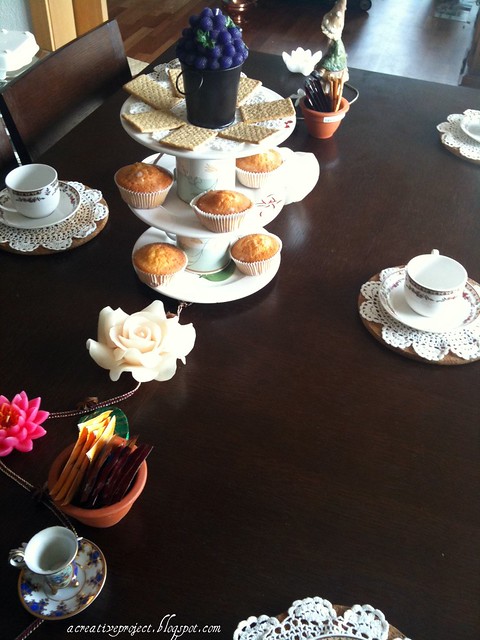
You can use these for muffins, cup cakes, candies...
Or keep French fries with the dip /sauce on the top plate in the center..
A healthier option ..keep sliced vegetables like carrots, cucumber and keep the dip on the top
or to keep desserts and chocolates..
or simply to display party favors/ return gifts..
Later I placed a pretty candle I had which wanted to showoff:))
You can see my tea party decor here..
You can do a variation by using different sizes of plates.. A bigger plate at the bottom and the smallest at the top..It is easy , quick, no need to store it and you can reuse the plates and cups..
Try it out and if you do let me know..I would love to share it with everyone here..
Joining the awesome party at Met Monday!!! Check it out for more projects!!

7 comments:
thanks quiet informative
That's a cool idea.. Purnima
This is soo cool Purmina, thank you. Afternoon tea anyone?
great idea!!! thanks for the idea!
Thank you very much for the kind words!!
What a GREAT Idea! endless possibilities and easy storage, too! Thanks!
Thx Melissa!!
Post a Comment